Decals=Done...
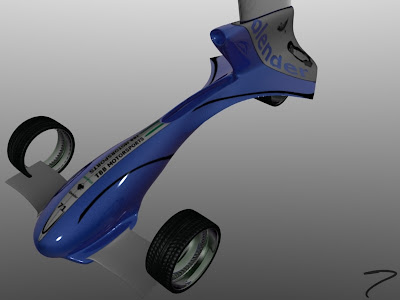
 am finally done with the decals for my Blender F1 car. I tried to make them as F1-like as I could and I think they look pretty good. The logos are all open source software logos, Gimp, Inkscape, Blender, Linux, etc. The project is coming to a finish fairly quickly now. The only things that I have left to do are finish up the modeling for the front wing that connects the wheels to the car and then do a quick cockpit.
11:24 AM | Labels: Materials | 0 Comments
Grass...
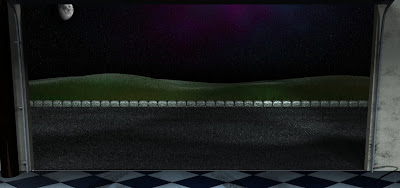
 very quick update today. I decided to go ahead and add grass to the opposite side of the street on my F1 scene. After some fiddling around with particle settings and textures this is what I came up with last night. I really like how the moonlight came out reflecting off of the top tips of the grass. It's coming along! I added some more decals this weekend as well, but I have yet to make a render of the car. Look for an update near the middle of this week.
11:35 AM | Labels: General, Materials, Modeling | 0 Comments
Decals, Background, and Sketches...
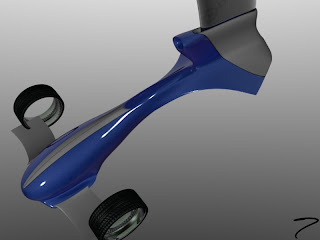
 have shifted my focus recently from modeling to materials, texturing, and general scene management. The image at the right is my first attempt with adding decals to my F1 car. They don't look too bad actually. I have some more design work to do with them, mainly making them look more f1-ish, but the hard part of getting them to mesh with my existing node based car paint is done!
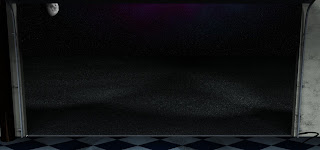 Next came the process of adding my star background to my scene. You can see my progress so far on the left. All the pieces were made in blender and stuck together with Gimp. Right now it sort of looks like the asphalt is the end of the world and it falls off into oblivion, but I have yet to figure out exactly what I want to put over there. I like the way the moon and the stars came out though. The nebula gives it that sort of futuristic/other-worldly look.
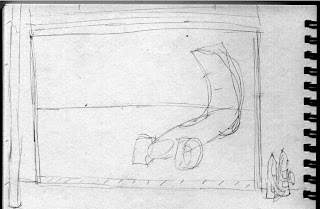 I also thought I may share with you my initial sketch for the Blender F1 scene. I think I originally though some fire extinguishers would look good in the right hand corner, but I like it empty right now.
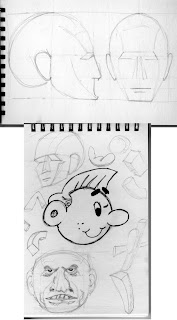
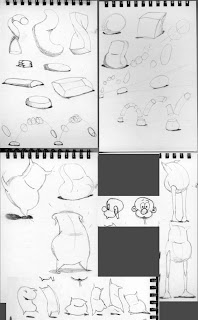
Finally, I'll leave you with a few doodles and fun sketches that I've done recently. I like the way this last character is turning out, so he may be my next modeling challenge! (Sorry for bad scan quality)
F1 Garage Floor...
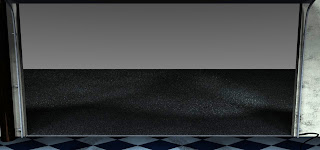
 he floor material has been a source of obsession for me for a couple days now. I think I'm almost at the point of calling it complete though. I added some more dirt and some tire skid marks. Take a look, I'm quite happy with it now. I think that it gives the overall scene a more complete look (you may have to enlarge it just to see the detail that I'm talking about).
I also got the chance a couple days ago to play with making a star field in Blender. The "stars" button in the render buttons in Blender doesn't really give a convincing night sky image, so I searched for some ways to create on from scratch. I ended up with an excellent technique to create a star field and was able to make some pretty good images. I think that this, along with a convincing moon (which I'm still working on), should make for a really dramatic night sky. What do you think?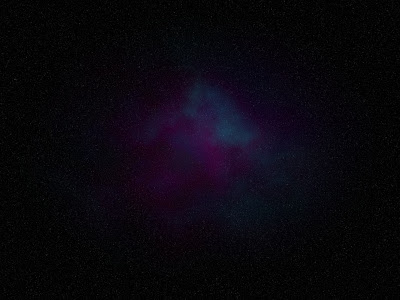
10:08 AM | Labels: General, Materials, Modeling | 0 Comments
F1 Wheels...
 completed the modeling of the wheels for my F1 car last night.
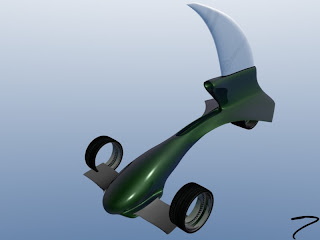
The idea is that the wheels are completely hubless, which gives them a nice futuristic feel. However, I needed to have some way for the wheels to be driven, so I added some gearing to the inside of the wheel. This will connect to the car and drive the wheels. The gearing was made with the "Blender Mechanical Gears" script, which is excellent. I'm not fully happy with the material for the wheels yet, but this shiny chrome should do for a little while. I do like how the tires came out though.
After doing some node material research, I ran across a material for a nicely tiled floor. That material, along with this document, let me create the garage floor material.
You may have to click on the image for a bigger version, but I think I'm fully satisfied with it. It could possibly use a little bit more dirt, so I may add that, but for now I'm calling it complete. I also added some dirty plaster wall material for the interior wall and a painted, rusty metal material for the pole on the left.
The next step is to finish up connecting the wheels to the car, then work on some decals for the car. My latest thought is to make this scene be at night and add a moon with some stars to the outside. We'll see how far I get on that one!
10:23 AM | Labels: General, Modeling | 0 Comments
Blender F1...

 am coming along on my f1 car for the Blender f1 competition. I have most of the basic modeling done on the car itself, except for the wheels and cockpit. I'm now working on the materials. The green paint on the car is my first attempt at node based materials and I'm very pleased with it. The lighting is very simple in this image, but you get the picture. I still don't fully understand a lot of the node features, but I like the output! I also added a nice chrome material to the fin, with some grid lines and decals. I was going for something really subtle for the decals because I like the look of the big chrome fin.
I really want to concentrate on my composition for this challenge, so I thought a lot about the scene setup. I did a little photography composition research and decided on having the car framed by a garage door. This gives the car a natural frame in the picture, which is visibly appealing. I'll also have the car at a 3/4 length view on the right hand side of the door frame to abide by the rule of thirds. The picture below is a quick render of the scene setup.
 And one with the car placed roughly where it should be
This last one shows a couple of material and textures. One of the common traits of most of the previous winners of the competition is that they all have great textures (and lighting, but that will come later), so I'm trying to concentrate a lot of time on this.
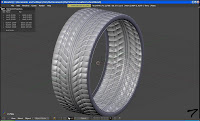 I also started to model the tire yesterday. This is a work in progress shot of the tire so far. I used an array modifier fit to a curve, rather than spin duping the tire. That way I didn't have to do a lot of calculations to try to get the size of each tread correct. The next step is doing the wheel and working on materials for everything.
12:24 PM | Labels: General, Modeling | 0 Comments